In a wax warmer, a wax melt is a wickless cube of wax and fragrance that melts. These are also quite simple to produce! You may make them using nearly any wax, essential oils, aroma oils, and various unique designs and colors. They’re an excellent option for scenting a room or area without worrying about a lighted candle or an open flame. In this guide, you will learn how to make your wax melts in 8 simple steps.
What exactly are Wax Melts?
Have you ever thought about why wax melts are so popular? We’ll go through some of the reasons why people adore them.
First and foremost, what exactly are wax melts, and where did they originate?
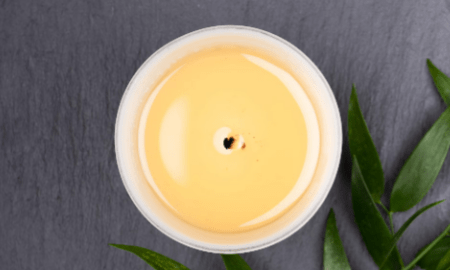
Wax melts are fragrant bits of wax that are melted in a warmer without the need for wicks. The warmer dissolves the solid wax by heating it. As the wax melts, it releases a smell into the surrounding environment. Melts are also known as wax tarts and wax cubes. Candle manufacturers seeking something to do with their leftover wax after pouring candles invented wax melts. Isn’t it cool?
What do people do with wax melts?
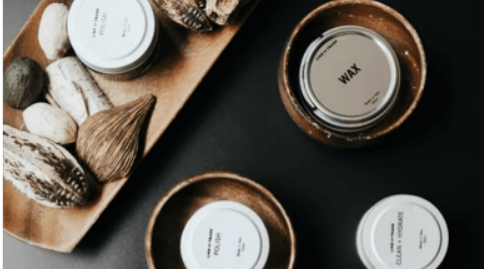
As stated above wax melts are wickless wax and fragrance cubes that melt in a wax warmer to fill a room with perfume. They’re also quite simple to produce! You may make them using nearly any wax, essential oils, aroma oils, and various unique designs and colors.
You may use the following for wax melts
- A fragrance oil may find in hobby stores and candle suppliers. Check to see whether they’re meant for candles.
- You may find Essential oils in various venues, not simply hobby shops.
- If you start with fragrance oils, you’re more likely to have a successful smell strength, mainly if you’ve never created wax melts or candles before. They are often less costly and are made to withstand high temperatures.
- Essential oils are more costly and entail a higher risk of skin irritation or other sensitivities.
- Finally, there are no guidelines for “what to mix.” And, to be honest, you don’t have to mix anything to make this work.
- You may use a fragrance or essential oil in your recipe on its own, and it will work just fine!
How can I produce my Wax Melts?
1. Select a fragrance recipe
This phase may be made as intricate or as simple as you choose, but it comes down to personal choice.
2. Fill the measuring glass halfway with wax
- Weigh 1 pound (454 grams) of candle wax into a glass measuring cup using a kitchen scale.
- Take care not to add the weight of the measuring glass by mistake!
3. In a double boiler and melt the wax
- Fill your pot halfway with water and set it on a burner or hot plate over medium heat.
- Place the wax-filled measuring glass in the water and allow it to melt.
4. Weigh the fragrance oil
- 1 ounce (28 grams) fragrance oil in a tiny disposable or glass cup that you do not plan to drink from
- If you’re combining fragrance oils, make sure the TOTAL quantity of fragrance oils equals 1 ounce (half an ounce of one plus half an ounce of another, for example).
- Set aside the fragrance oil that has been measured.
5. When the wax gets 185°F/85°C, combine the aroma oil and color
- Wax should melt between 185 and 200 degrees Fahrenheit (85 and 93 degrees Celsius). Stir in the fragrance oil and any colors for 2 minutes.
- Gently swirl the wax before measuring the temperature for the best accurate reading.
- The amount of your favorite colors you utilize is entirely up to you as you choose. Experimenting can help you discover what you appreciate!
6. Pour into molds at around 160°F/71°C
- Using a gentle whisk, slowly swirl the liquid until it reaches a temperature of 160°F to 170°F before placing it into your clamshell or silicone molds.
- If pouring into the molds is too tricky without spilling, move the melted and combined blend into a tiny metal coffee creamer for the last pour, but do it while the mixture is still hot since it will substantially drop the temperature.
- Furthermore, placing your molds on the edge of a table might simplify transferring from your measuring glass.
7. Allow the melts to set for a few minutes
- After pouring, you may be tempted to put those suckers in the wax melter as soon as they’re “dry,” but wait a little longer!
- Unlike candles, wax melts do not need the same length of curing time. There is no need to adapt the micro-movements of scent within the wax structure since the whole cube melts into a melt pool.
- Allow the wax melts to remain for at least 48-72 hours before using to give them time to settle. The behavior of the melt will be determined by the kind of wax used, although most are safe to use after 3 days of curing.
8. Warm up the melts in a warmer and enjoy
Put your melt in a warmer and inhale the wonderful smell, and you’re done!
Conclusion
Wax melting may be an excellent method to expose children to science! Allow them to see the melt as it transitions from solid wax to liquid wax and finally hardens as it cools! Wax melting may be enjoyable for grownups as well. Wax melts are often used to create new scents.
For example, if you had a Eucalyptus melt and a Sinus Relief wax melt, you might combine one-quarter of each into your warmer to produce a lovely mint aroma ideal for congested noses. Finally, wax melts are long-lasting, enjoyable, reasonably affordable, and a safe method to experience unique aromas.
If you want to control the amount of perfume and experiment with smell combinations, they’re an excellent selection for you to consider. So, enjoy make your own wax melts by reading the above guide.


